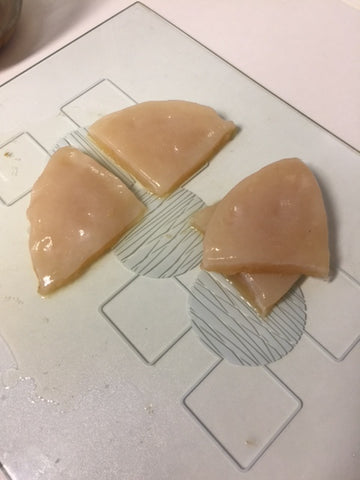
Once you have been brewing with your continuous brew for a while your top scoby will start to get quite big and will need to be trimmed. You might have noticed that your brew is getting very sour very quickly. This is a sign that your scoby might be too big.
So how do you actually trim the scoby?
A few points to consider first?
- Contamination is always a risk as soon as the scoby is out of its brew. Always ensure that everything the scoby is going to come into contact with is clean and well rinsed.
- Jewelry- You must ensure that the scoby does not come into contact with metals. Ensure that all rings etc have been removed.
- The scoby is fine to be handled however they are very slippery so handle with care and ensure that they do not end up on the floor!
While you want to make sure that you remove enough scoby to make a difference removing too much can cause mould to form in your brew so don't be too ruthless. You can always remove more later if you need to.
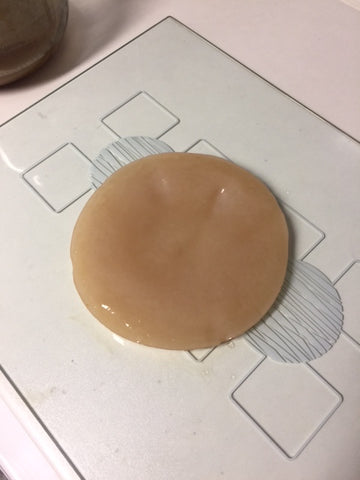
So remove your scoby from the brew and place on a clean surface.
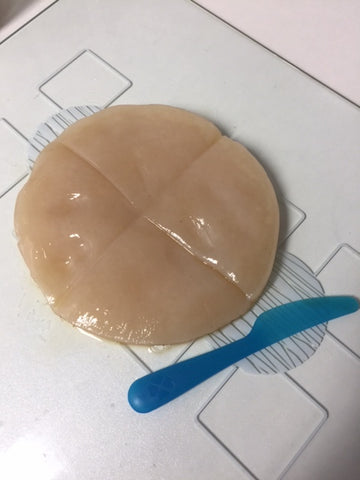
Score the scoby with a plastic knife so you can see where you will be cutting. We recommend cutting the scoby into quarters.
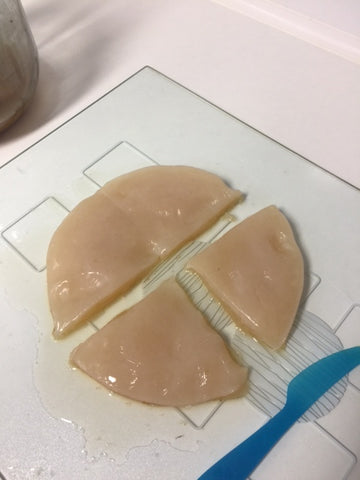
Cut along the scored lines. Scobies can be tough to cut (especially since plastic knives don't tend to be the sharpest) so keep tight hold of the scoby (slippery remember, you don't want it shooting off the chopping board!) and just cut through it. I find cutting one section at a time the best way to do it.
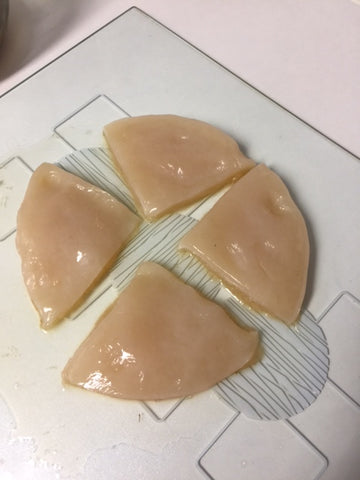
Once cut, generally (depending on the thickness) one quarter will be powerful enough to brew 2L
Pop the scobies that you need back into your brew and continue brewing and discard the rest (remember you can make dog treats with the spare bits!).
Don't forget the scobies that you put in last time you trimmed (or your original mothers) will still be at the bottom of the brew so you will want to remove those too.

